Source : https://media.architecturaldigest.com
Laminate Love: Painting Laminate Countertops for a Fresh Look is a comprehensive guide that provides step-by-step instructions on how to transform your old, worn-out laminate countertops into fresh, stylish surfaces. This guide not only teaches you how to paint your countertops, but also offers tips and tricks on choosing the right paint, preparing the surface, and maintaining the new look. It’s an ideal resource for homeowners looking to revamp their kitchen or bathroom without the hefty cost of replacing countertops.
Mailbox Post Plans: Incorporating Laminate Love in Painting Laminate Countertops for a Fresh Look
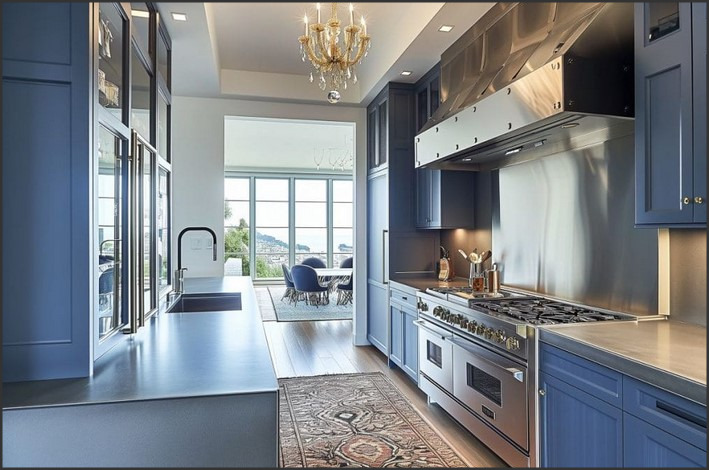
Laminate countertops have long been a popular choice for homeowners due to their affordability, durability, and wide range of color and pattern options. However, over time, these surfaces can become worn, scratched, or simply outdated. Fortunately, painting laminate countertops is a cost-effective and relatively simple way to give your kitchen or bathroom a fresh, updated look. This process, often referred to as “Laminate Love,” can breathe new life into your space without the need for a complete remodel.
The first step in painting laminate countertops is to thoroughly clean the surface. This is crucial as any dirt, grease, or other residue can prevent the paint from adhering properly. A simple solution of warm water and mild dish soap should suffice, but for stubborn stains, a baking soda paste can be used. Once the countertop is clean, it should be lightly sanded to create a rough surface for the paint to adhere to.
Next, a good quality primer should be applied. This will not only help the paint adhere better but will also block any stains or discoloration from showing through the final paint color. It’s important to let the primer dry completely before moving on to the next step.
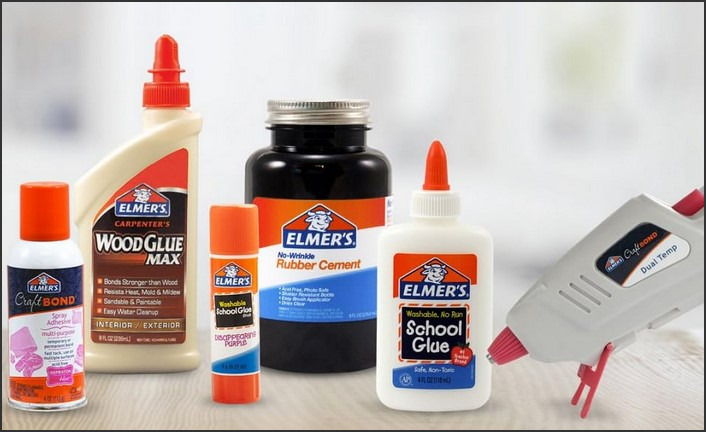
Once the primer is dry, it’s time to apply the paint. There are many types of paint that can be used on laminate countertops, but it’s generally recommended to use a paint specifically designed for this purpose. These paints are typically more durable and resistant to heat, moisture, and other common kitchen and bathroom hazards.
The paint can be applied using a roller for larger areas and a brush for smaller, more detailed areas. It’s usually best to apply two or more thin coats of paint, allowing each coat to dry completely before applying the next. This will result in a smoother, more professional-looking finish.
After the final coat of paint has dried, a protective topcoat should be applied. This will seal the paint and protect it from scratches, stains, and other damage. Again, it’s important to let this topcoat dry completely before using the countertop.
While painting laminate countertops can be a DIY project, it’s important to take your time and follow each step carefully. The process can be somewhat time-consuming, but the end result is well worth the effort. With a little patience and attention to detail, you can transform your outdated laminate countertops into a beautiful, modern surface that you’ll love for years to come.
In conclusion, the “Laminate Love” process of painting laminate countertops is a cost-effective and straightforward way to update your kitchen or bathroom. By following the steps of cleaning, sanding, priming, painting, and sealing, you can give your countertops a fresh, new look without the expense and hassle of a complete remodel. Whether you’re looking to modernize your space or simply refresh worn or scratched surfaces, painting laminate countertops is a project worth considering.