Source : https://static.ufurnish.com
Welcome to Tub Time! If you’re looking for the perfect tub chair to create a cozy corner in your home, you’ve come to the right place. We have a wide selection of tub chairs to choose from, ranging from traditional to modern designs. Whether you’re looking for a comfortable spot to relax and read a book or a stylish addition to your living room, we have the perfect tub chair for you. We’ll help you find the perfect chair to fit your style and budget. So, let’s get started and find the perfect tub chair for your cozy corner!
How to Choose the Perfect Tub Chair for Your Home: A Guide to Comfort and Style
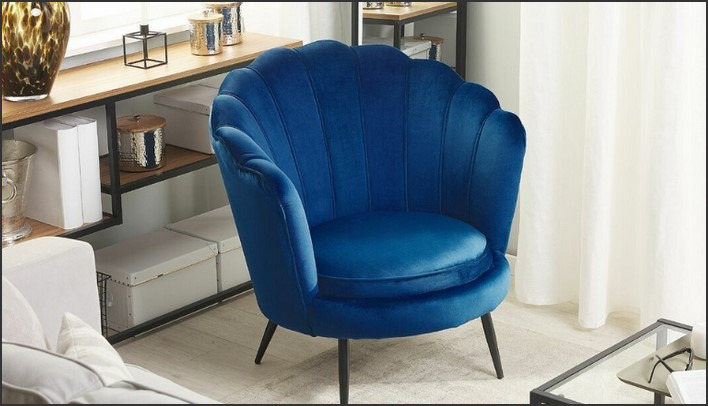
When it comes to choosing the perfect tub chair for your home, comfort and style should be your top priorities. A tub chair is a great way to add a touch of luxury to any room, but it’s important to make sure you select the right one for your needs. This guide will help you find the perfect tub chair for your home, so you can enjoy maximum comfort and style.
First, consider the size of the chair. Tub chairs come in a variety of sizes, so you’ll want to make sure you select one that fits your space. Measure the area where you plan to place the chair and make sure the chair you choose is not too large or too small.
Next, think about the material. Tub chairs are typically made from leather, fabric, or faux leather. Leather is the most durable option, but it can be expensive. Fabric is a more affordable option, but it may not be as durable. Faux leather is a good compromise between the two, as it is both affordable and durable.
Finally, consider the style of the chair. Tub chairs come in a variety of styles, from traditional to modern. Think about the overall look and feel of your home and select a chair that complements the existing decor.
By following these tips, you can find the perfect tub chair for your home. With the right chair, you can enjoy maximum comfort and style.
Creating a Cozy Corner with the Right Tub Chair: Tips for Designing a Relaxing Space
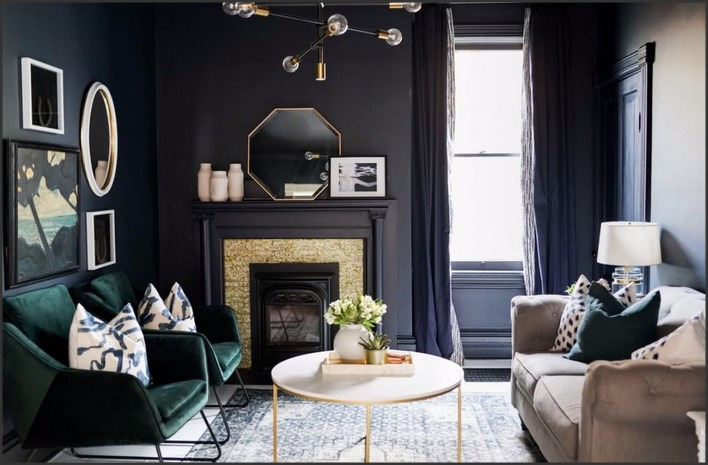
Creating a cozy corner in your home can be a great way to relax and unwind after a long day. A tub chair is the perfect piece of furniture to create a comfortable and inviting space. Here are some tips for designing a relaxing space with the right tub chair.
1. Choose the Right Size: When selecting a tub chair, it is important to choose one that is the right size for the space. Consider the size of the room and the other furniture pieces in the area. A chair that is too large can make the space feel cramped, while a chair that is too small can make the space feel empty.
2. Choose the Right Color: The color of the tub chair should complement the other furniture pieces in the room. Choose a color that is calming and inviting, such as a neutral shade or a pastel hue.
3. Add Comfort: To make the space even more inviting, add a few cushions or a throw blanket to the chair. This will make the chair more comfortable and inviting.
4. Add Accessories: To complete the look, add a few accessories to the space. A small table, a lamp, or a few books can all help to create a cozy atmosphere.
By following these tips, you can create a cozy corner in your home with the right tub chair. With the right furniture and accessories, you can create a relaxing space that is perfect for unwinding after a long day.Tub Time: Choosing the Perfect Tub Chair for Your Cozy Corner is a great resource for anyone looking to create a cozy corner in their home. With a wide variety of tub chairs to choose from, you can find the perfect one to fit your style and budget. Whether you’re looking for a modern, contemporary look or a more traditional style, there is a tub chair that will fit your needs. With the right tub chair, you can create a comfortable and inviting space that you can enjoy for years to come.