
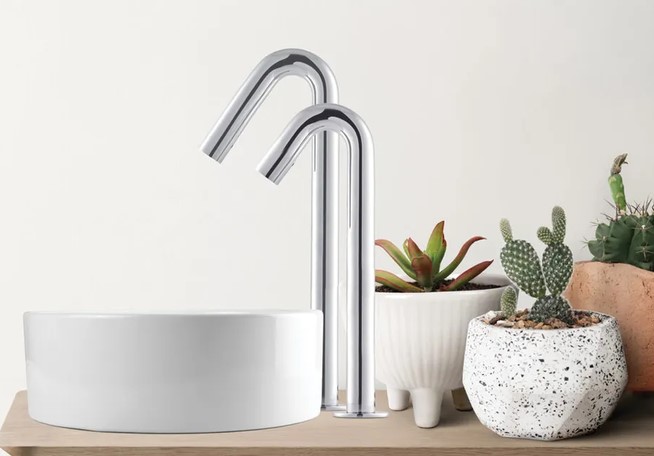
Source:https://sternfaucets.us
I was recently called to inspect a luxury bathroom remodel where the owner had spent over $15,000 on custom Italian porcelain tiles and a floating marble vanity. Yet, every morning, they found themselves picking at stubborn green mineral rings and slimy soap scum trapped in the microscopic gap around their deck-mounted faucet handles.
Traditional counter-mounted faucets act as dirt traps. Water naturally pools around the base plate, creating an ideal breeding ground for hard-water scale, mildew, and grime that requires constant scrubbing.
The solution that transformed their space—and eliminated those maddening cleaning routines—was elevating the fixture off the countertop entirely. Installing a wall mount faucet isn’t just a design trend; it’s a fundamental upgrade in minimalist sanitary engineering.
The Mechanics Behind the Wall Mount Faucet: What Lies Beneath the Tile
To understand why a wall mount faucet operates so flawlessly, think of it like an iceberg. The sleek spout and minimalist handles you see floating above the sink represent only ten percent of the total assembly.
The remaining ninety percent consists of a heavy brass rough-in valve engineered directly inside your wall cavity. This concealed unit acts as the mechanical engine, anchoring the fixture to your home’s structural framing and regulating water temperature and flow volume.
-
Concealed Rough-In Valve: Solid forged brass body houses the water mixing channels and cartridge chambers permanently behind wall tiles.
-
Ceramic Disc Cartridges: Provide friction-free water shutoff rated for hundreds of thousands of smooth open-and-close cycles.
-
Threaded Extension Nipples: Bridge the physical distance between the concealed internal valve and the exterior decorative trim.
Precision Geometry: Critical Measurements for Zero Splash
Installing a wall mount faucet requires absolute mathematical precision. Unlike standard deck-mounted fixtures where you simply drop a pipe into a pre-drilled hole, a wall-mounted setup leaves zero room for post-installation error once tile is set.
| Design Parameter | Standard Undermount Sink | Vessel (Above-Counter) Sink | Key Engineering Objective |
| Height Above Rim | 4 to 6 Inches | 3 to 4 Inches Above Vessel Rim | Prevents splashing while leaving room for hand washing |
| Spout Projection Length | 7 to 9 Inches | 8 to 10 Inches | Centers water stream directly over the drain outlet |
| Rough-In Valve Depth | 1.5 to 2.5 Inches | 1.5 to 2.5 Inches | Aligns escutcheon plates flush against finished tile |
| Supply Line Sizing | 0.5-inch NPT | 0.5-inch NPT | Guarantees standard residential flow rate (1.2–1.5 GPM) |
Calculating the Splash Zone
When water hits a ceramic or stone basin, kinetic energy must disperse evenly. If your spout sits too high, falling water hits the basin floor at high velocity and sprays across your vanity.
Conversely, setting the spout too low leaves insufficient clearance to wash your hands or fill a container comfortably. Aim to position the stream center within 1 inch of the drain opening.
Structural Blocking and Rough-In Plumbing Logic
In my ten-plus years in the field, I have witnessed countless DIYers attempt to secure a heavy valve directly to thin drywall or metal studs. This is a recipe for catastrophic structural failure.
Installing Solid 2×6 Wood Blocking
Before running copper or PEX water supply lines, anchor a piece of solid 2×6 structural blocking horizontally between the wall studs behind the sink.
Screw the rough-in valve body directly into this wood block using heavy-duty stainless steel wood screws. This rigid anchor prevents micro-flexing when users yank on the faucet handles years down the road.
Pressure Testing Before Drywall
Never seal a wall cavity before conducting a rigorous pressure test. Cap the valve outlets and pressurize the supply lines with air or water at 80 to 100 PSI for a minimum of 24 hours.
This simple step reveals micro-leaks in soldered joints or threaded connections before expensive tile and waterproof membranes go up.
Expert Advice: Pro Tips and Hidden Warnings from a 10-Year Pro
Over a decade of bathroom renovations teaches you critical details that standard installation manuals neglect to explain.
Pro Tip: The Finished Wall Thickness RuleAlways account for the exact thickness of your mortar, backing board, and finished tile before setting valve depth. Keep the plastic plaster guard attached to the rough-in valve during installation—it marks the minimum and maximum finished wall depth allowed for your specific trim kit.
-
Hidden Warning #1: The Irreversible Depth TrapIf you set your rough-in valve too deep into the stud cavity, the decorative handle stems will not reach the valve splines once tile is laid. You will be forced to buy expensive stem extension kits or tear out freshly laid tile to reset the valve.
-
Hidden Warning #2: Cold Wall Condensation and FreezingAvoid installing a wall mount faucet on an uninsulated exterior wall in cold climates. Water sitting static inside uninsulated supply pipes during freezing winter nights can expand, crack the valve body, and flood your wall cavity from within.
Long-Term Maintenance and Finishing Touches
Homeowners often fear that wall-mounted plumbing means breaking down drywall every time a seal wears out. Modern engineering eliminates this concern completely:
-
Front-Access Maintenance: Quality manufacturers design their decorative escutcheon plates to unscrew from the outside, giving you direct access to replace ceramic disc cartridges without touching the tile.
-
PVD Finishes for Longevity: Select fixtures treated with Physical Vapor Deposition (PVD) finishes like brushed nickel, matte black, or brass. PVD molecularly bonds color to the metal surface, resisting corrosion and abrasive cleaning agents for life.
-
Integrated Aerators: Ensure your spout includes a removable coin-slot aerator to easily clear calcium scale build-up without scratching the metal finish.
Elevate Your Bathroom Experience
Transforming your bathroom layout with a sleek wall mount faucet blends high-end architectural aesthetics with practical, hygienic engineering. By carefully calculating spout projection, securing solid structural blocking, and verifying valve depths, you create a floating focal point built to perform for decades.
Are you planning a bathroom remodel soon, or do you have questions about setting up rough-in valves for your sink layout? Leave a comment below—I read and answer every question to help you nail your next home improvement project!